TL;DR
- Create professional animated videos by describing what you want in plain English
- No video editing software, no coding knowledge, no Remotion experience needed
- Claude Code writes the React components, you just preview and render
- Best for: Marketing videos, social media content, product announcements, tutorial teasers
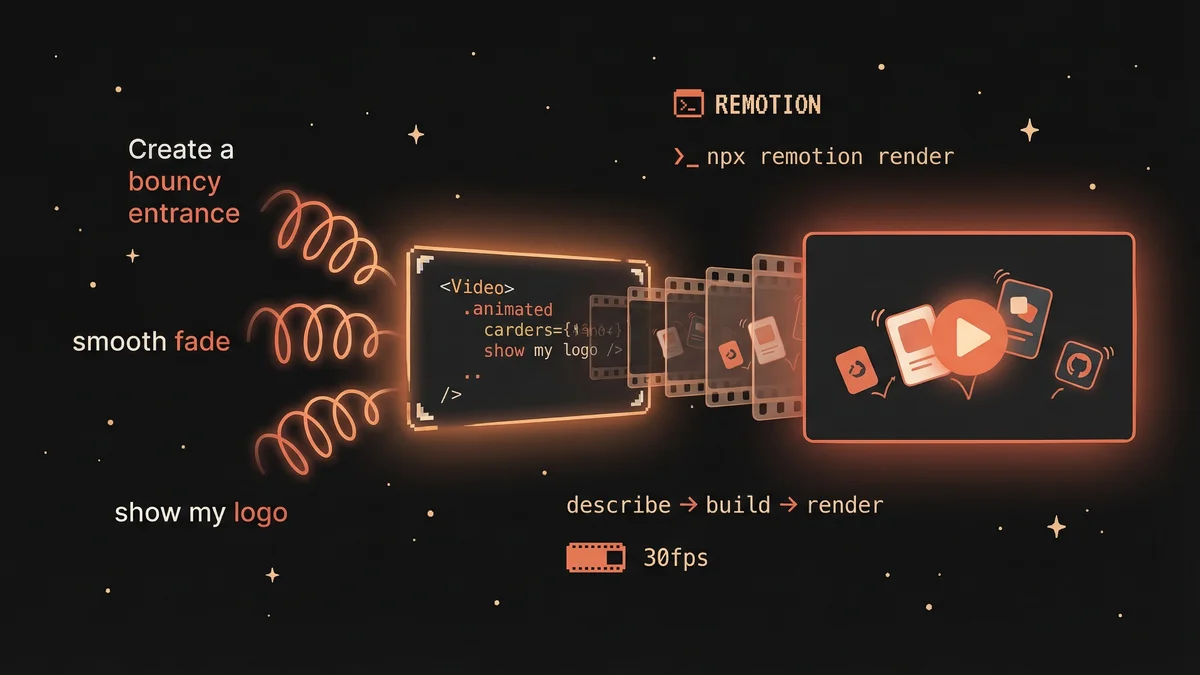
- Key insight: Describe the feel (“bouncy entrance”, “smooth fade”), Claude translates to animation code
Remotion turns video creation into a conversation. Describe what you want, Claude Code builds it, you render a professional video — all without touching a timeline or learning After Effects.
You have a new article to promote. Or a product launch. Or a weekly recap for your audience.
Traditional path: Open video editing software, learn the interface, drag clips around, fight with keyframes, export, realize you need to change one thing, start over.
New path: “Create a 15-second promo video with my article titles bouncing in one by one, then show my logo with a glowing call-to-action button.”
Three minutes later, you have a rendered MP4.
What is Remotion?
Remotion is a framework that creates videos using React code instead of timeline editors. Instead of dragging clips, you write (or have Claude write) components that render frame-by-frame.
Why this matters for non-coders: You don’t need to understand React. You describe what you want. Claude Code writes the React. You get the video.
The magic is in translation: you say “bouncy”, Claude writes spring({ config: { damping: 8 } }). You say “smooth fade”, Claude writes interpolate() with the right easing. The technical details are handled for you.
What You Can Create
Once set up, you can ask Claude Code to create:
Marketing & Business:
- Product announcement videos
- Feature highlight reels
- Testimonial animations
- Pricing comparison videos
- Event countdown timers
- Company milestone celebrations
Social Media:
- Twitter/X promotional clips
- TikTok/Reels vertical videos
- YouTube Shorts
- LinkedIn carousel-style animations
- Instagram story animations
Content Promotion:
- Article teaser videos
- Podcast episode announcements
- Newsletter signup promos
- Course launch trailers
- Weekly/monthly recap videos
Personal Projects:
- Birthday/anniversary videos
- Travel highlight reels
- Photo montages with animations
- Custom greeting cards
- Portfolio showcases
The key insight: anything you’d hire a video editor for, you can now describe and generate.
Proof: A Real Video Built in 3 Minutes
Here’s what we created for cc4.life by simply describing what we wanted:
The request: “Create a 15-second promo showing our best AI stories with their hero images, animated stats, and a call-to-action.”
The result: A polished promotional video with:
- Typewriter text hook (“What if you could code… without writing a single line?”)
- Four story cards with actual hero images, bouncing in with staggered timing
- Animated stat counters (80+ stories, 6 categories, 0 code required)
- Logo reveal with glowing CTA button
- Smooth transitions between scenes
It’s definitely not perfect but total time from description to rendered video: literally 3 minutes.
No After Effects. No Premiere Pro. No timeline scrubbing. Just a conversation.
Prerequisites
- Claude Code installed and working
- Node.js 18+ (Claude Code can help you check/install this)
- 10 minutes for initial setup, then 3-5 minutes per video
Step 1: Create Your First Remotion Project
Copy this prompt and give it to Claude Code:
I want to create marketing videos using Remotion. Please:
- Create a new Remotion project in a folder called “my-videos”
- Set it up with TypeScript
- Install all dependencies
- Verify the setup works by starting the Remotion Studio
If anything fails, help me fix it.
What happens: Claude Code runs npm init video, installs dependencies, and opens Remotion Studio in your browser at localhost:3000.
You’ll know it worked when: You see Remotion Studio with a sample composition you can preview.
Step 2: Install the Remotion Skill
The Remotion skill teaches Claude Code best practices for video creation — proper animation patterns, timing, and Remotion-specific rules.
Install the Remotion best practices skill from: https://github.com/remotion-dev/skills
Put it in my ~/.claude/skills/ directory.
Why this matters: Without the skill, Claude might use CSS animations (which don’t render correctly in Remotion). The skill ensures Claude uses useCurrentFrame() and proper Remotion patterns.
Step 3: Describe Your First Video
Now the fun part. Describe what you want:
Create a 10-second promotional video for my website. I want:
- A bold headline that types out letter by letter
- Three feature cards that bounce in one after another
- A logo reveal at the end with a subtle glow effect
- Dark background with a professional feel
- Resolution: 1280x720 (Twitter optimized)
The headline should say “Build Faster with AI” and the features are:
- “Automated Testing”
- “Smart Code Review”
- “24/7 Monitoring”
What happens: Claude Code creates React components for each element, sets up the timeline with proper sequencing, and registers the composition in Remotion.
Preview it: The Remotion Studio shows your video. Scrub through the timeline to see each frame.
Step 4: Iterate on the Feel
First drafts are rarely perfect. Here’s where the magic happens:
The headline types too slowly. Speed it up. The cards feel stiff. Make the entrance more bouncy. Add a subtle floating animation to the cards after they appear.
Claude adjusts the timing parameters:
- Typewriter speed: changes
charFramesfrom 3 to 2 - Bouncy entrance: changes
dampingfrom 200 to 12 - Floating: adds a sine-wave offset based on frame count
The vocabulary of feel:
- “Bouncy” → low damping spring
- “Smooth/professional” → high damping spring
- “Snappy” → high stiffness
- “Floaty” → slow, gentle motion
- “Punchy” → quick entrance with slight overshoot
You don’t need to know what “damping: 8” means. Just say “more bounce” and Claude translates.
Step 5: Add Your Assets
Want to use your own images, logos, or brand colors?
Add my logo from ~/Downloads/logo.png to the final scene. Use my brand colors: primary #6366f1, secondary #f472b6. Include the hero images from these URLs: [list your images]
Claude copies assets to the public/ folder and updates the components to use them.
Step 6: Render Your Video
When you’re happy with the preview:
Render the video as an MP4 to my Downloads folder.
Claude runs: npx remotion render src/index.ts MyVideo ~/Downloads/promo.mp4
Output formats:
- MP4 (default, works everywhere)
- GIF (for Twitter previews, email)
- WebM (smaller file size)
Different resolutions:
Also render a vertical version for TikTok (1080x1920).
Claude creates a new composition with adjusted layout for vertical format.
Common Gotchas
”Module not found” errors
Remotion needs all dependencies installed. Ask Claude:
I’m getting module not found errors. Can you check my package.json and install any missing dependencies?
Video looks different when rendered vs preview
Some fonts aren’t available during render. Either:
- Use system fonts (
system-ui, sans-serif) - Load Google Fonts using Remotion’s font loader
The font looks wrong in the rendered video. Can you switch to a Google Font that will render correctly?
Animations feel choppy
You might be running at low FPS. Check:
What FPS is this video set to? Can you increase it to 30 for smoother animation?
Colors look washed out
MP4 encoding can affect colors. For vibrant colors:
The colors look dull in the exported video. Can you adjust the encoding settings for better color accuracy?
Advanced: Templates for Repeated Use
Once you have a video style you like, save it as a template:
Save this video structure as a template called “article-promo”. I want to reuse it with different content.
Next time:
Create a new video using my “article-promo” template. The headline is “New Feature: Dark Mode” and the features are [list them].
Claude reuses the components and timing, just swapping the content.
Advanced: Automated Video Generation
For power users: Remotion can generate videos from data.
Set up this video to accept props so I can generate different versions programmatically. I want to pass in: headline, features array, and brand colors.
Now you can generate hundreds of variations:
npx remotion render src/index.ts MyVideo out/video1.mp4 --props='{"headline": "Version A"}'
npx remotion render src/index.ts MyVideo out/video2.mp4 --props='{"headline": "Version B"}'
This is how companies create personalized videos at scale.
Next Steps
- Full Remotion docs: remotion.dev/docs
- Remotion examples: remotion.dev/docs/examples
- Animation inspiration: remotion.dev/showcase
The Bigger Picture
Video used to require either:
- Expensive software + hours learning timeline editing
- Hiring a video editor + days of back-and-forth
Now it requires:
- Describing what you want
- Saying “more bounce” or “fade slower” until it feels right
- Clicking render
The technical barrier is gone. The only question left is: what do you want to create?